
As an Amazon Associate I earn from qualifying purchases. This post may contain affiliate links. Click here to read my affiliate disclosure.
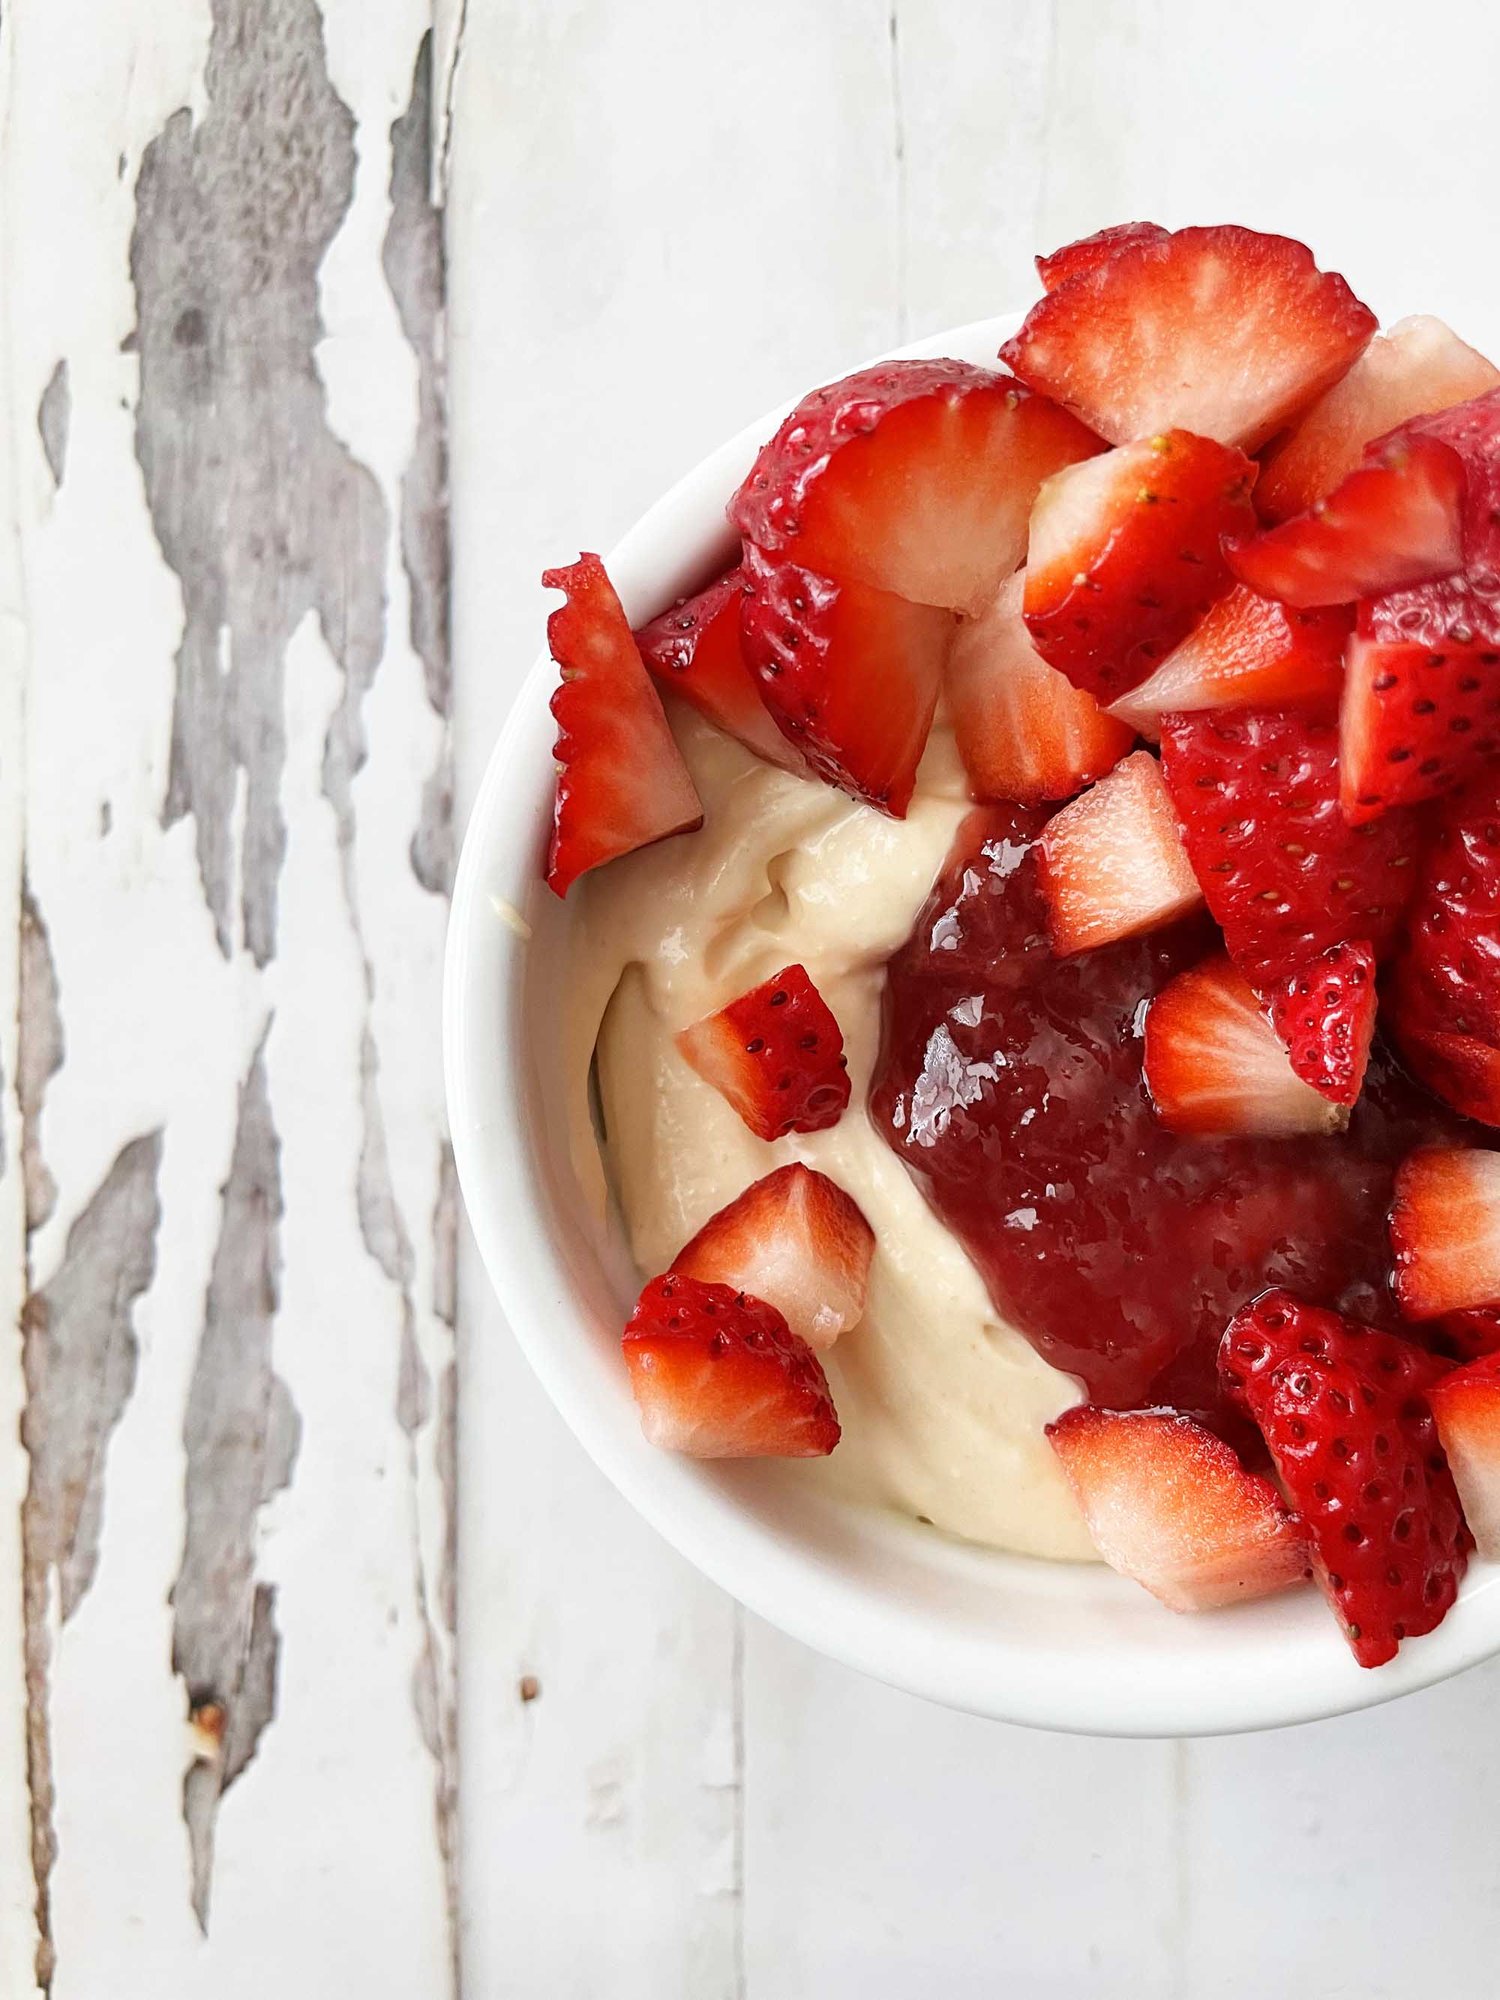
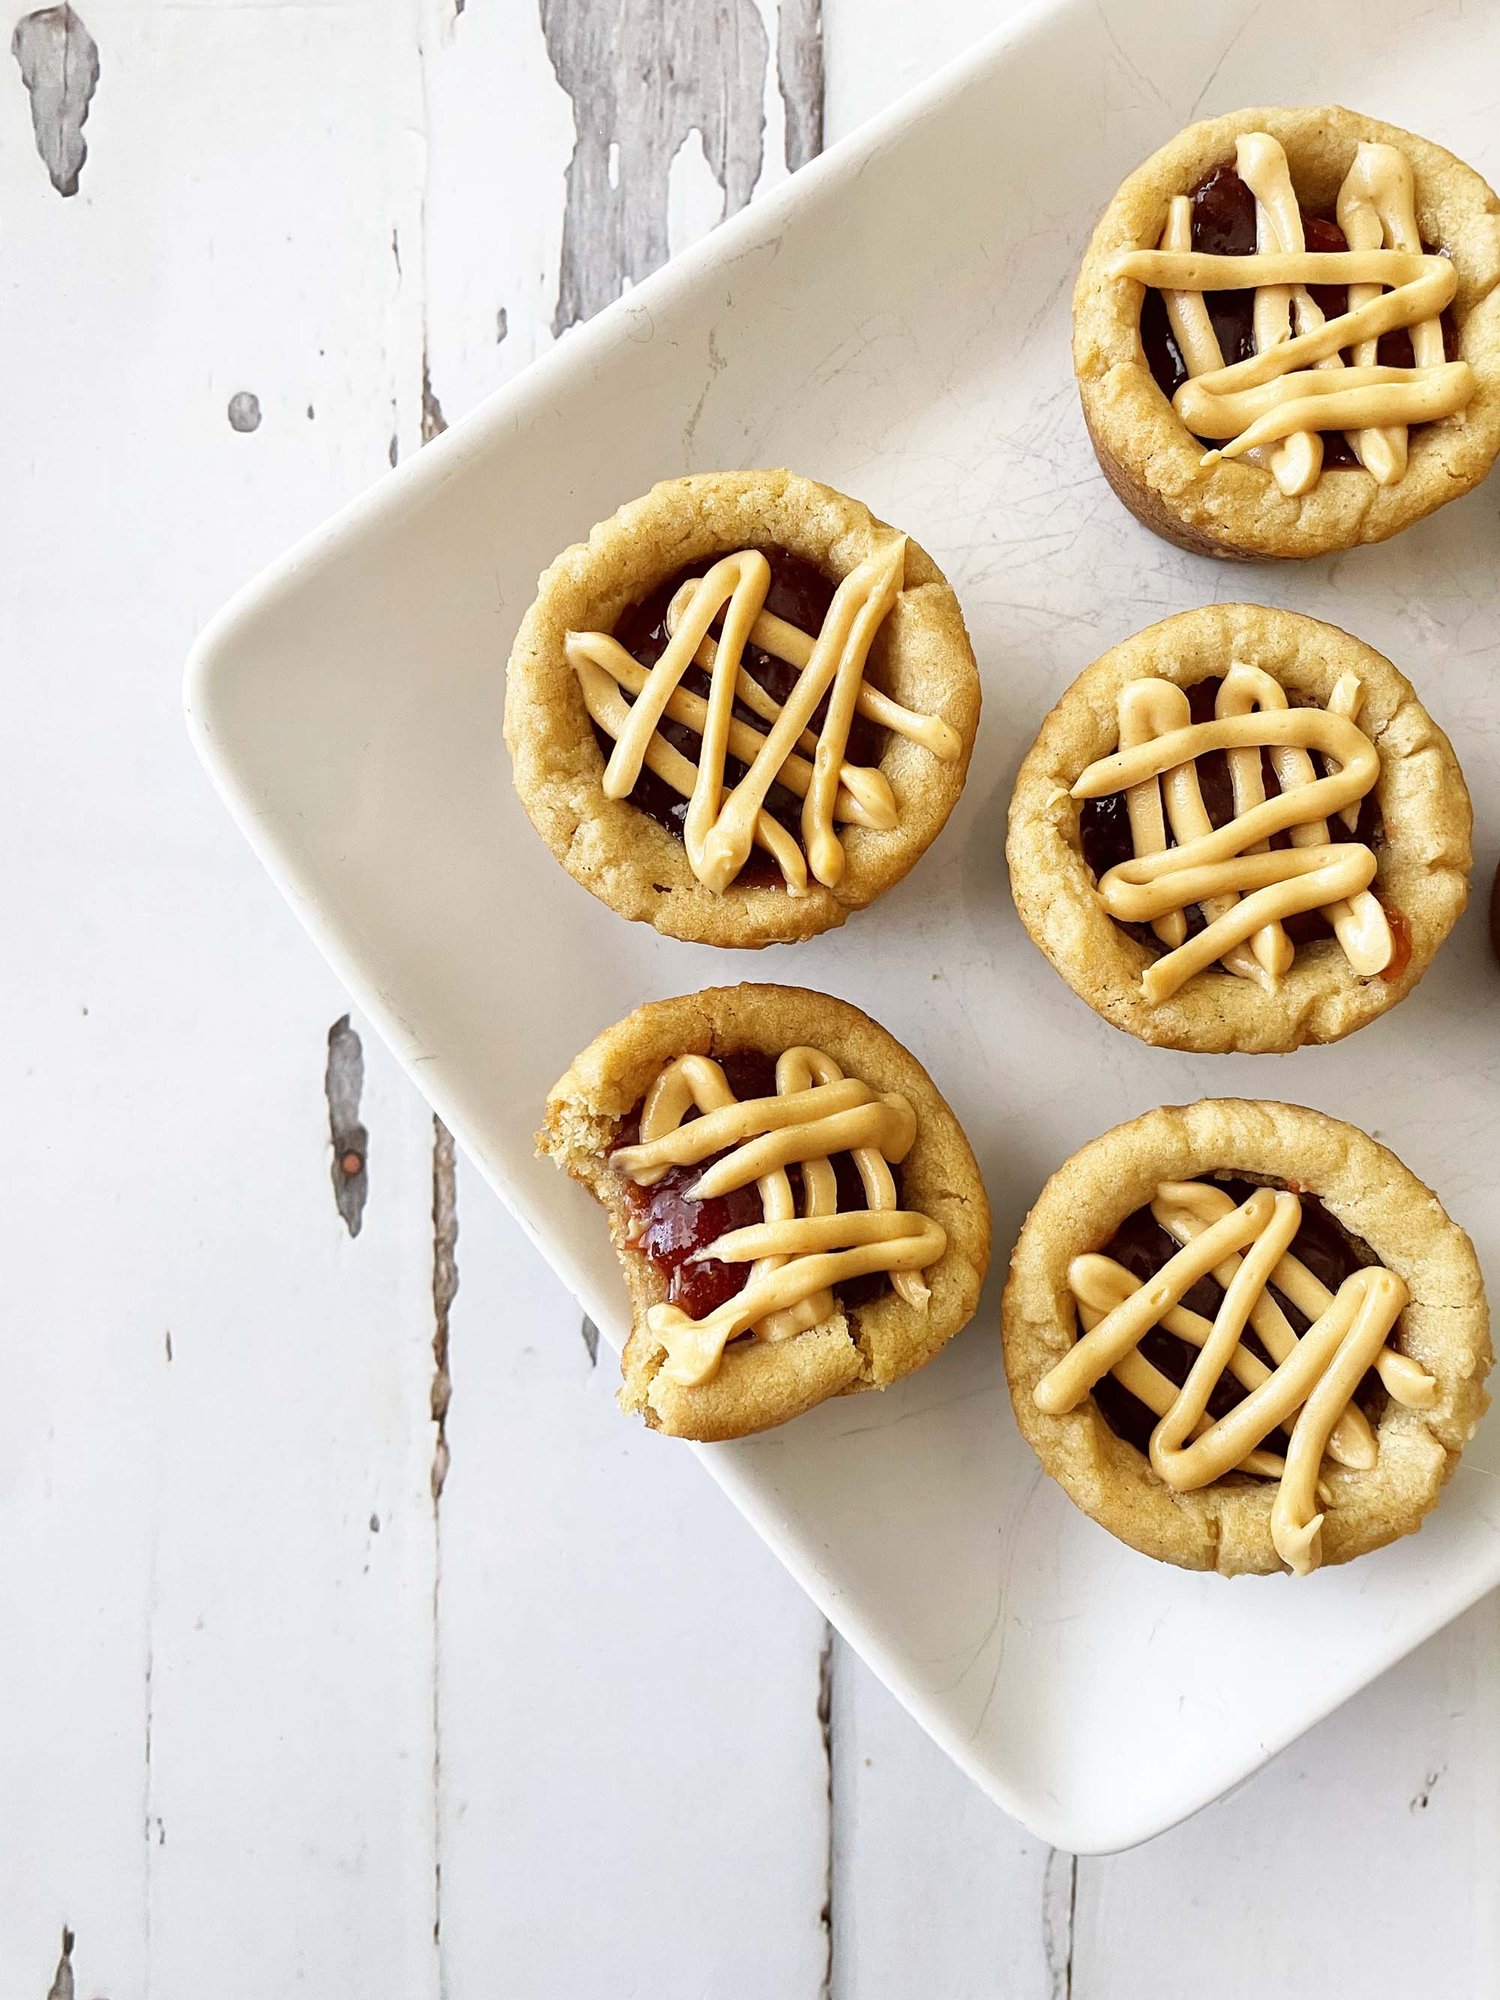
Get ready for a flavor explosion with this PB&J No Bake Cheesecake Pie! This quirky twist on a classic dessert combines the creamy richness of cheesecake with the nostalgic flavors of everyone's favorite childhood sandwich. The smooth peanut butter no bake cheesecake is perfectly complemented by a swirl of sweet strawberry jam, all nestled in a crunchy peanut butter cookie crust and a peanut butter crumb topping.
It's easy to make and guaranteed to be a hit with kids and adults alike. Indulge in a slice of this guilt-free treat and satisfy your cravings while keeping it light and wholesome. PB&J No Bake Cheesecake Pie - a delightful fusion of comfort food and health-conscious eating!

This PB&J No Bake Cheesecake Pie has layers of flavor and textures; crunchy on the bottom, fluffy gooey middle, and more crunch on top. It’s great as a nice cool bite of sweetness on a hot summer day. Keep it stored in the fridge for 3-5 days to enjoy.

PB&J No Bake Cheesecake Pie
Ingredients
- 2/3 C. Flour
- 1/4 C. PB2 Powder
- 1/4 C. Sugar
- 3 Tbsp. Brown Sugar Stevia Blend
- 1 Tbsp. Natural Sweetener
- 1/2 Tsp. Baking Powder
- 1/2 Tsp. Salt
- 6 Tbsp. Unsalted Butter Melted
- 225 g. Peanut Butter Cookies
- 1/4 C. Peanuts, Chopped
- 2 Tbsp. Natural Sweetener
- 1/2 Tsp. Salt
- 4 Tbsp. Unsalted Butter, Melted
- 1 1/2 C. Heavy Cream
- 8 Oz. Fat Free Cream Cheese
- 1 C. Creamy Peanut Butter
- 1 C. Powdered Sugar
- 1 Tsp. Vanilla
- 1 C. Strawberry Jam (Or any preferred flavor.)
Instructions
- Preheat the oven to 250 degrees F. and line a baking sheet with foil, parchment, or a silicone baking mat; set aside.
- In the bowl of a stand mixer, beat together the 2/3 C. Flour, 1/4 C. PB2 Powder, 1/4 C. Sugar, 3 Tbsp. Brown Sugar Stevia Blend, 1 Tbsp. Natural Sweetener, 1/2 Tsp. Baking Powder, 1/2 Tsp. Salt.
- Reduce the speed to low and add in the 6 Tbsp. Unsalted Melted Butter. Mix together until small clusters of crumbs form.
- Transfer the crumbs to the prepared baking sheet and place in the oven to bake for about 20 minutes or until the edges are starting to brown slightly.
- Once done, allow the crumbs to cool.
- While the crumbs are cooling, place the 225 g. Peanut Butter Cookies into a food processor and pulse until a fine crumbs form.
- Add in the 1/4 C. Peanuts, 2 Tbsp. Natural Sweetener, and 1/2 Tsp. Salt until it's blended well.
- Finally, add in the 4 Tbsp. Unsalted Melted Butter and pulse until well combined.
- Transfer the mixture to a lightly greased 10" pie dish or spring form pan and press it into the bottom of the dish. Place the pan into the fridge to chill while the crumbs are completely cool.
- Clean out the bowl of the stand mixer and fit the mixer with the whisk attachment.
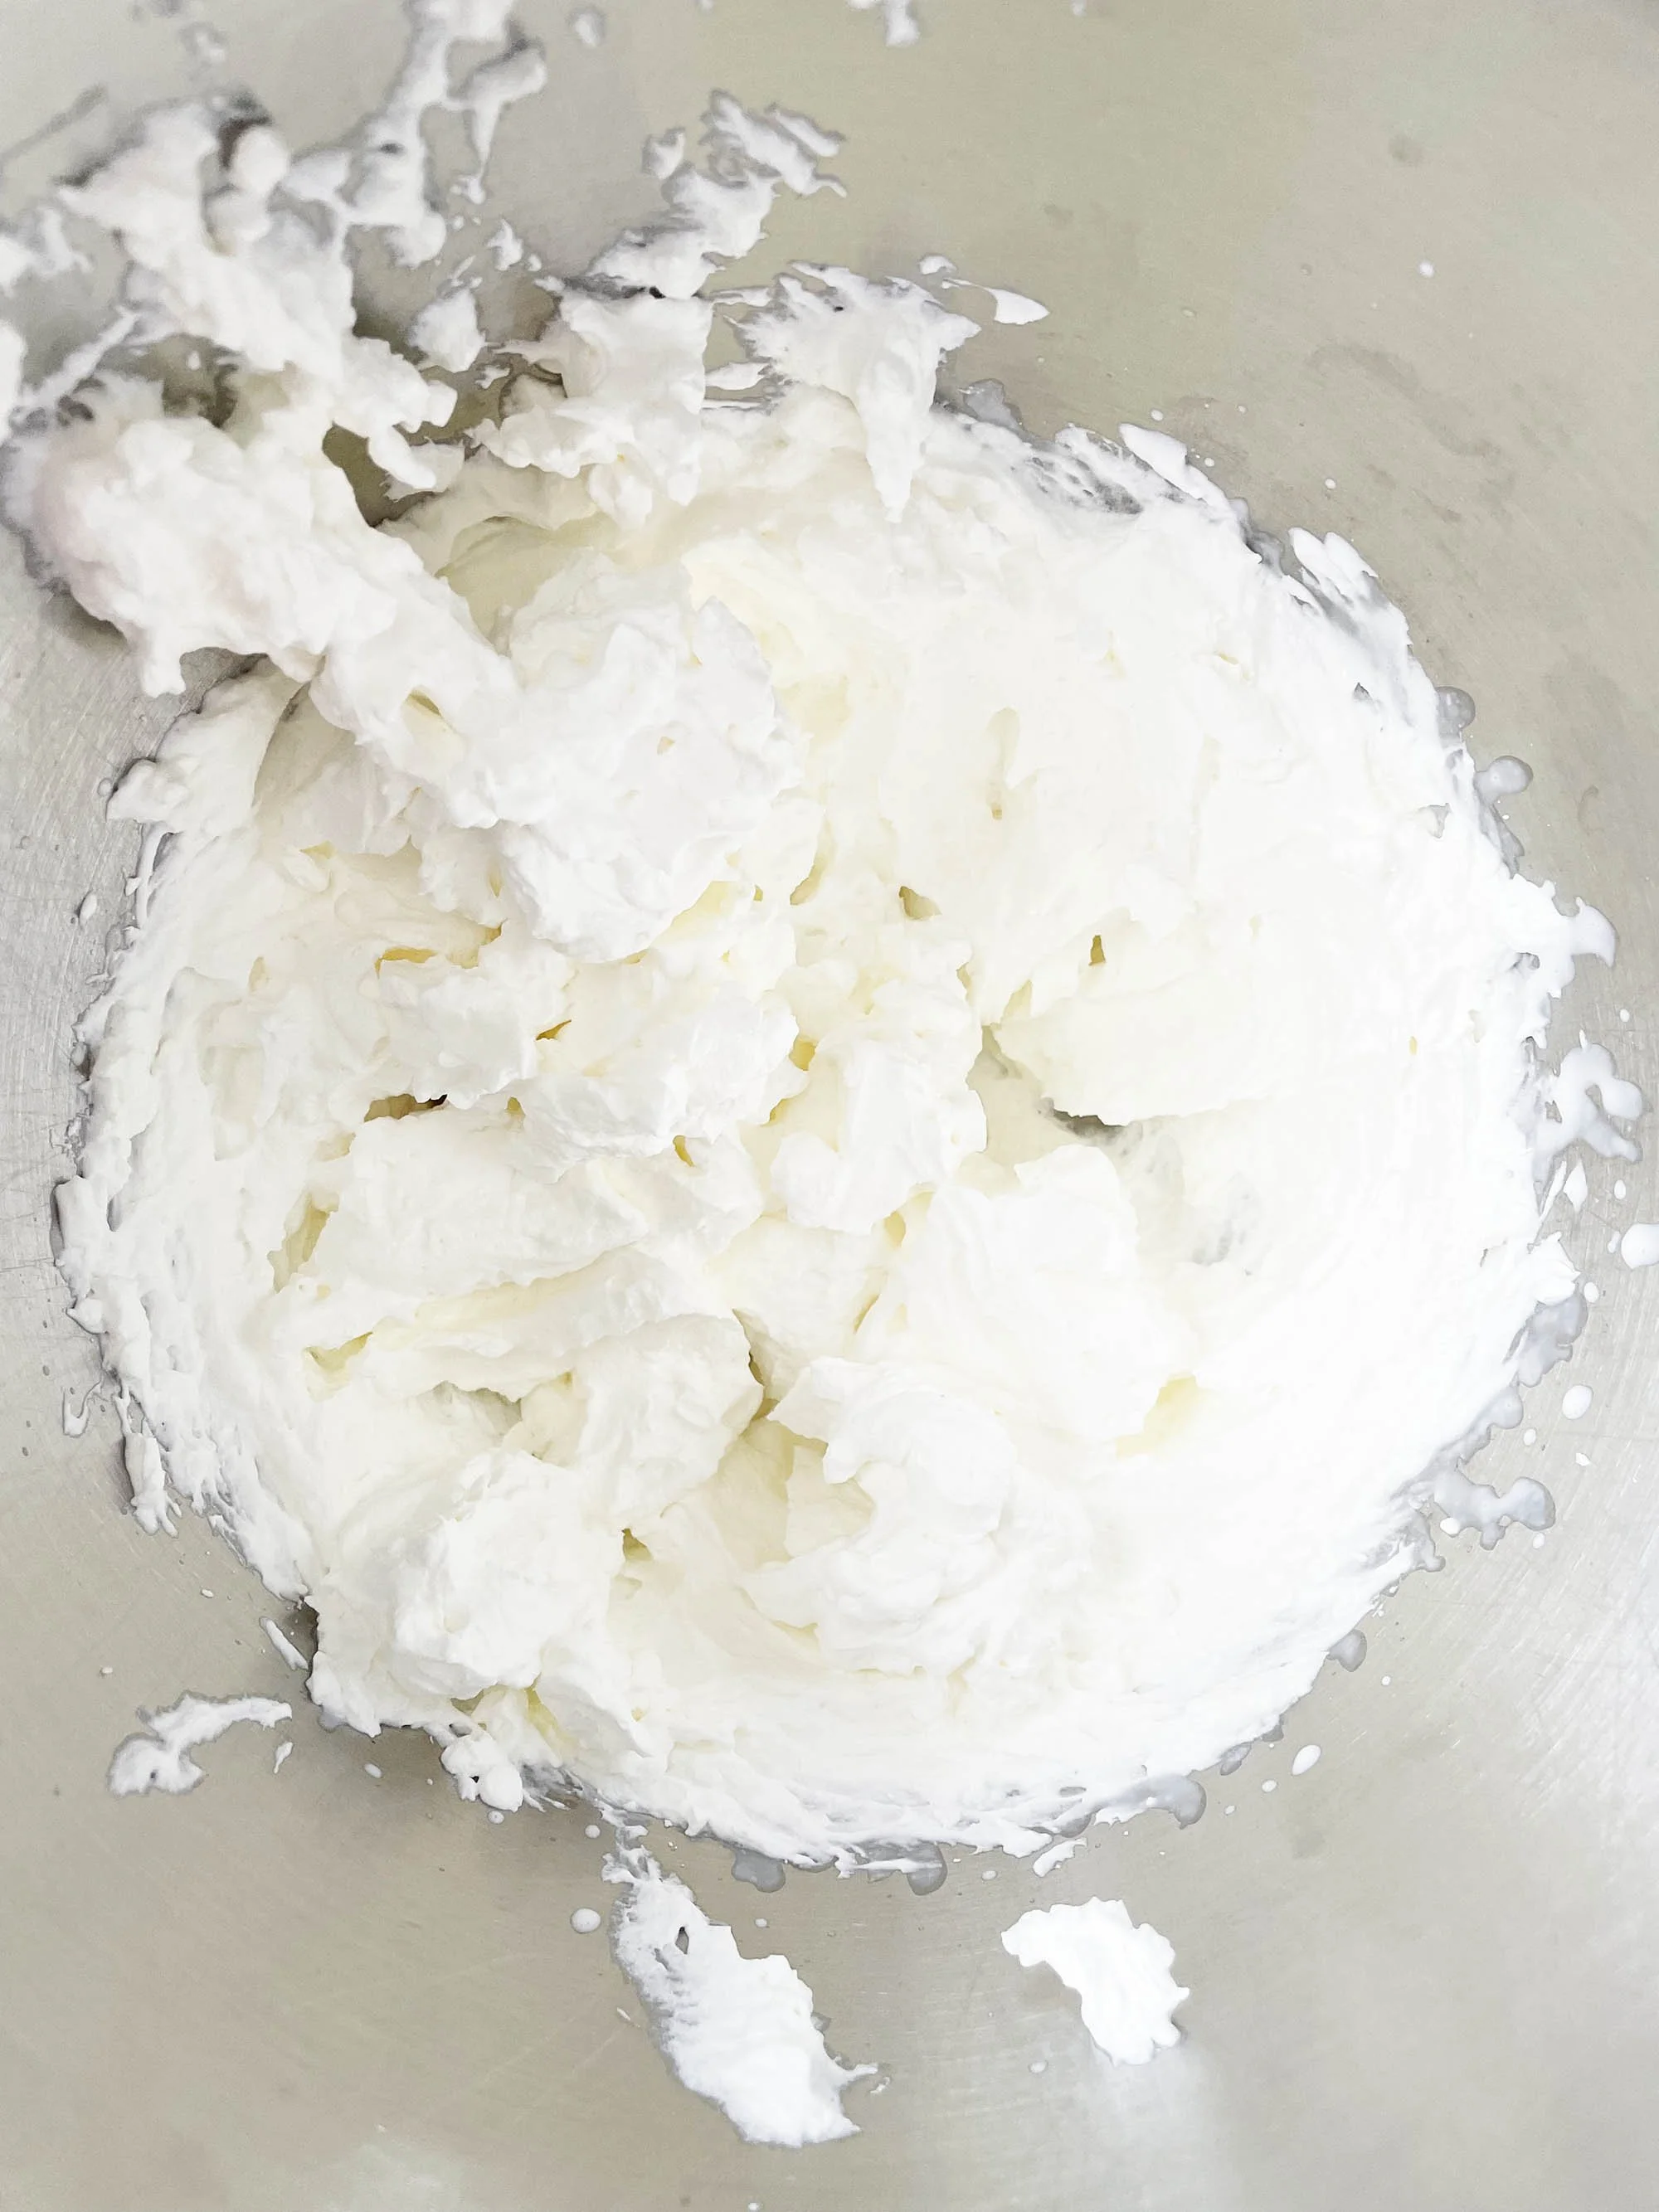
- Beat the 1 1/2 C. Heavy Cream on high speed until stiff peaks form; transfer the whipped cream to a bowl and set aside.
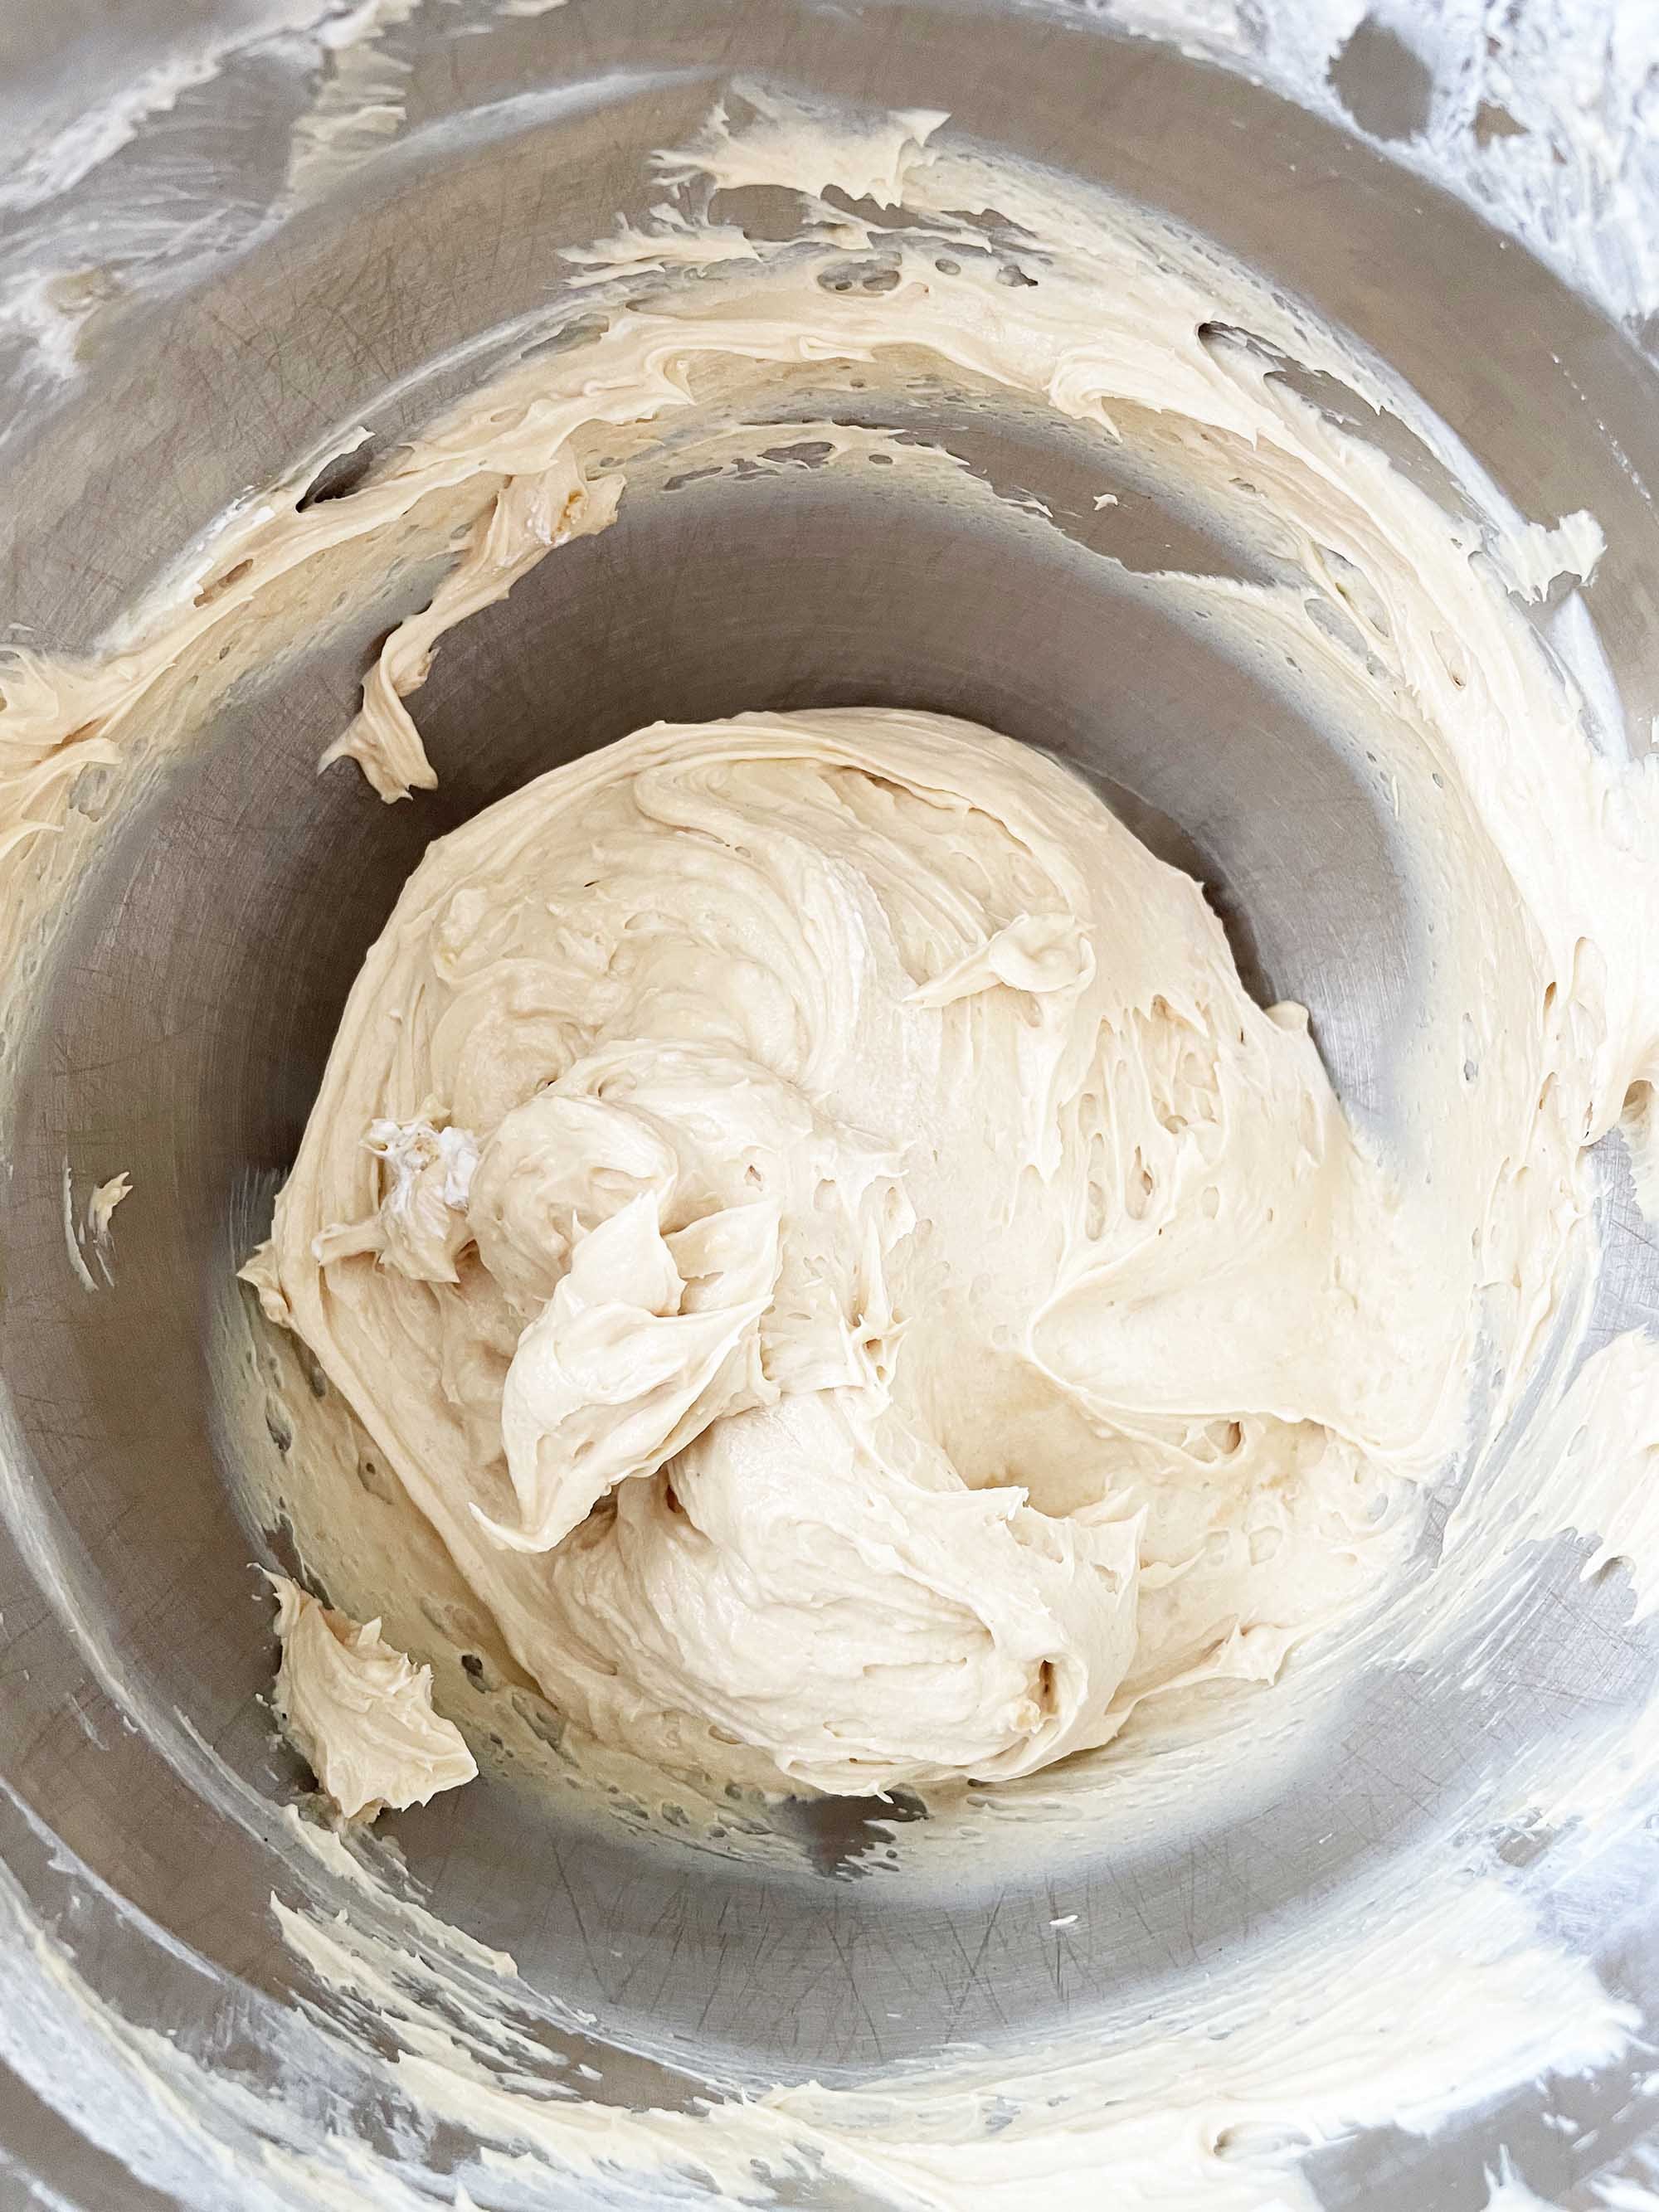
- In the bowl of the stand mixer, beat together the 8 Oz. Fat Free Cream Cheese, 1 C. Creamy Peanut Butter, 1 C. Powdered Sugar, and 1 Tsp. Vanilla until smooth and creamy.
- Reduce the speed to low and add the whipped cream mixture in thirds at a time, letting it be mixed together between each addition. Do not overheat the cream filling.
- When ready to assemble the pie, remove the crust from the fridge and add half of the filling to the crust along with 1/2 C. of the Strawberry Jam. Use a knife to swirl the two.
- Add the remaining peanut butter fluff filling and the last 1/2 C. of the Strawberry Jam; swirl together again.
- Top it all off with the PB Crumbs.
- Place the dish into the fridge to chill for 6-8 hours or overnight before slicing and serving to enjoy!


Nutrition Facts
Calories
475Fat (grams)
31 gSat. Fat (grams)
13 gCarbs (grams)
49 gFiber (grams)
2 gNet carbs
49 gSugar (grams)
30 gProtein (grams)
10 gSodium (milligrams)
301 mgCholesterol (grams)
53 mgNutritional Claims: Kidney Friendly • Vegetarian • Pescatarian • Tree Nut Free • Soy Free • Fish Free • Shellfish Free • Pork Free • Red Meat Free • Crustacean Free • Celery Free • Mustard Free • Sesame Free • Lupine Free • Mollusk Free • Alcohol Free • Kosher
Step-by-Step Photos: